#### 重要信息
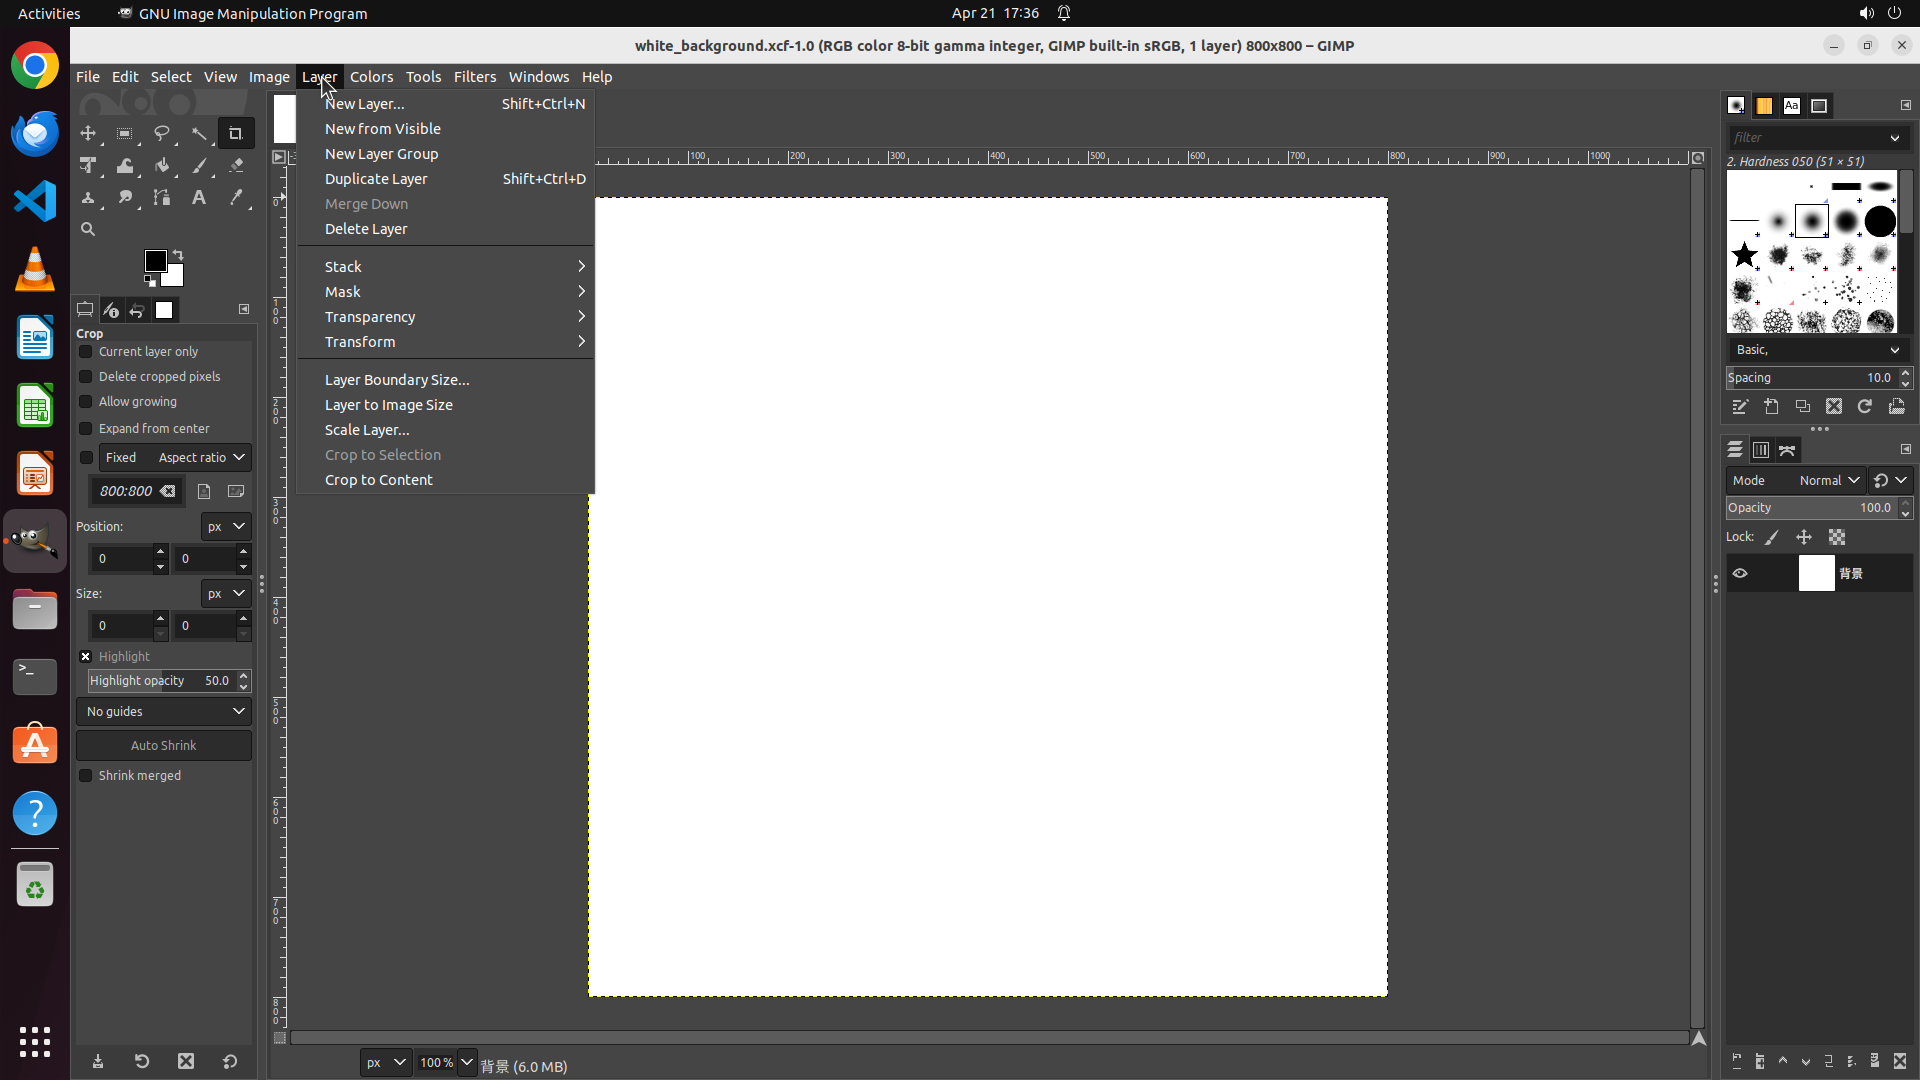
- GIMP is currently open with a white canvas image (white_background.xcf-1.0)
- The title bar shows "1 layer" currently
- The Layer menu is visible in the menu bar at the top
- No previous actions have been taken yet
#### 情况分析与思考过程
To add a new layer named 'Square', I need to follow these steps:
1. First, click on the "Layer" menu in the menu bar to open the dropdown
2. Select "New Layer" from the dropdown options
3. Enter "Square" as the layer name in the dialog
4. Click OK to create the layer
The first step is to click on the "Layer" menu item in the menu bar. I can see it clearly in the top menu bar between "Image" and "Colors".
Let me start by clicking on the Layer menu.
Step 2: CLICK (361, 100)
```
#### 重要信息
- GIMP is open with the Layer menu dropdown now visible
- The "New Layer..." option is clearly visible at the top of the dropdown menu
- The title bar still shows "1 layer" indicating we haven't created the new layer yet
- The dropdown menu shows the keyboard shortcut Shift+Ctrl+N for New Layer
#### 情况分析与思考过程
The previous action successfully opened the Layer menu. Now I can see the dropdown menu with various layer options. The "New Layer..." option is at the top of the menu, which is exactly what I need to click to proceed with creating a new layer named 'Square'.
Next steps:
1. Click on "New Layer..." to open the new layer dialog
2. Enter "Square" as the layer name
3. Click OK to create the layer
I'll click on "New Layer..." now.
```
Step 3: CLICK (948, 397)
```
#### 重要信息
- The "New Layer" dialog box is now open
- The "Layer name:" field currently contains "Layer" as the default text
- The text field appears to be ready for editing
- The OK and Cancel buttons are visible at the bottom of the dialog
#### 情况分析与思考过程
The previous action successfully opened the New Layer dialog. Now I need to:
1. Clear the current text in the layer name field and enter "Square"
2. Click OK to create the layer
The layer name field is visible and contains "Layer" as default text. I need to select this text and replace it with "Square". I'll click on the text field first to ensure it's focused, then select all text and type "Square".
Next steps:
1. Triple-click the layer name field to select all text
2. Type "Square" to replace it
3. Click OK to create the layer
```
Step 4: TYPING "Square"
```
#### 重要信息
- The "New Layer" dialog is still open
- The layer name field contains "Layer" and appears to be focused (cursor visible)
- The text should be selected from the previous triple-click action
- The OK button is visible at the bottom right of the dialog
#### 情况分析与思考过程
The previous triple-click action should have selected all the text in the layer name field. Now I need to:
1. Type "Square" to replace the selected text "Layer"
2. Click the OK button to create the new layer
Since the text is already selected, typing "Square" will automatically replace it. After typing, I'll click OK to complete the layer creation process.
This will complete the task of adding a new layer named 'Square'.
```
Step 5: CLICK (1269, 861)
```
#### 重要信息
- The "New Layer" dialog is still open
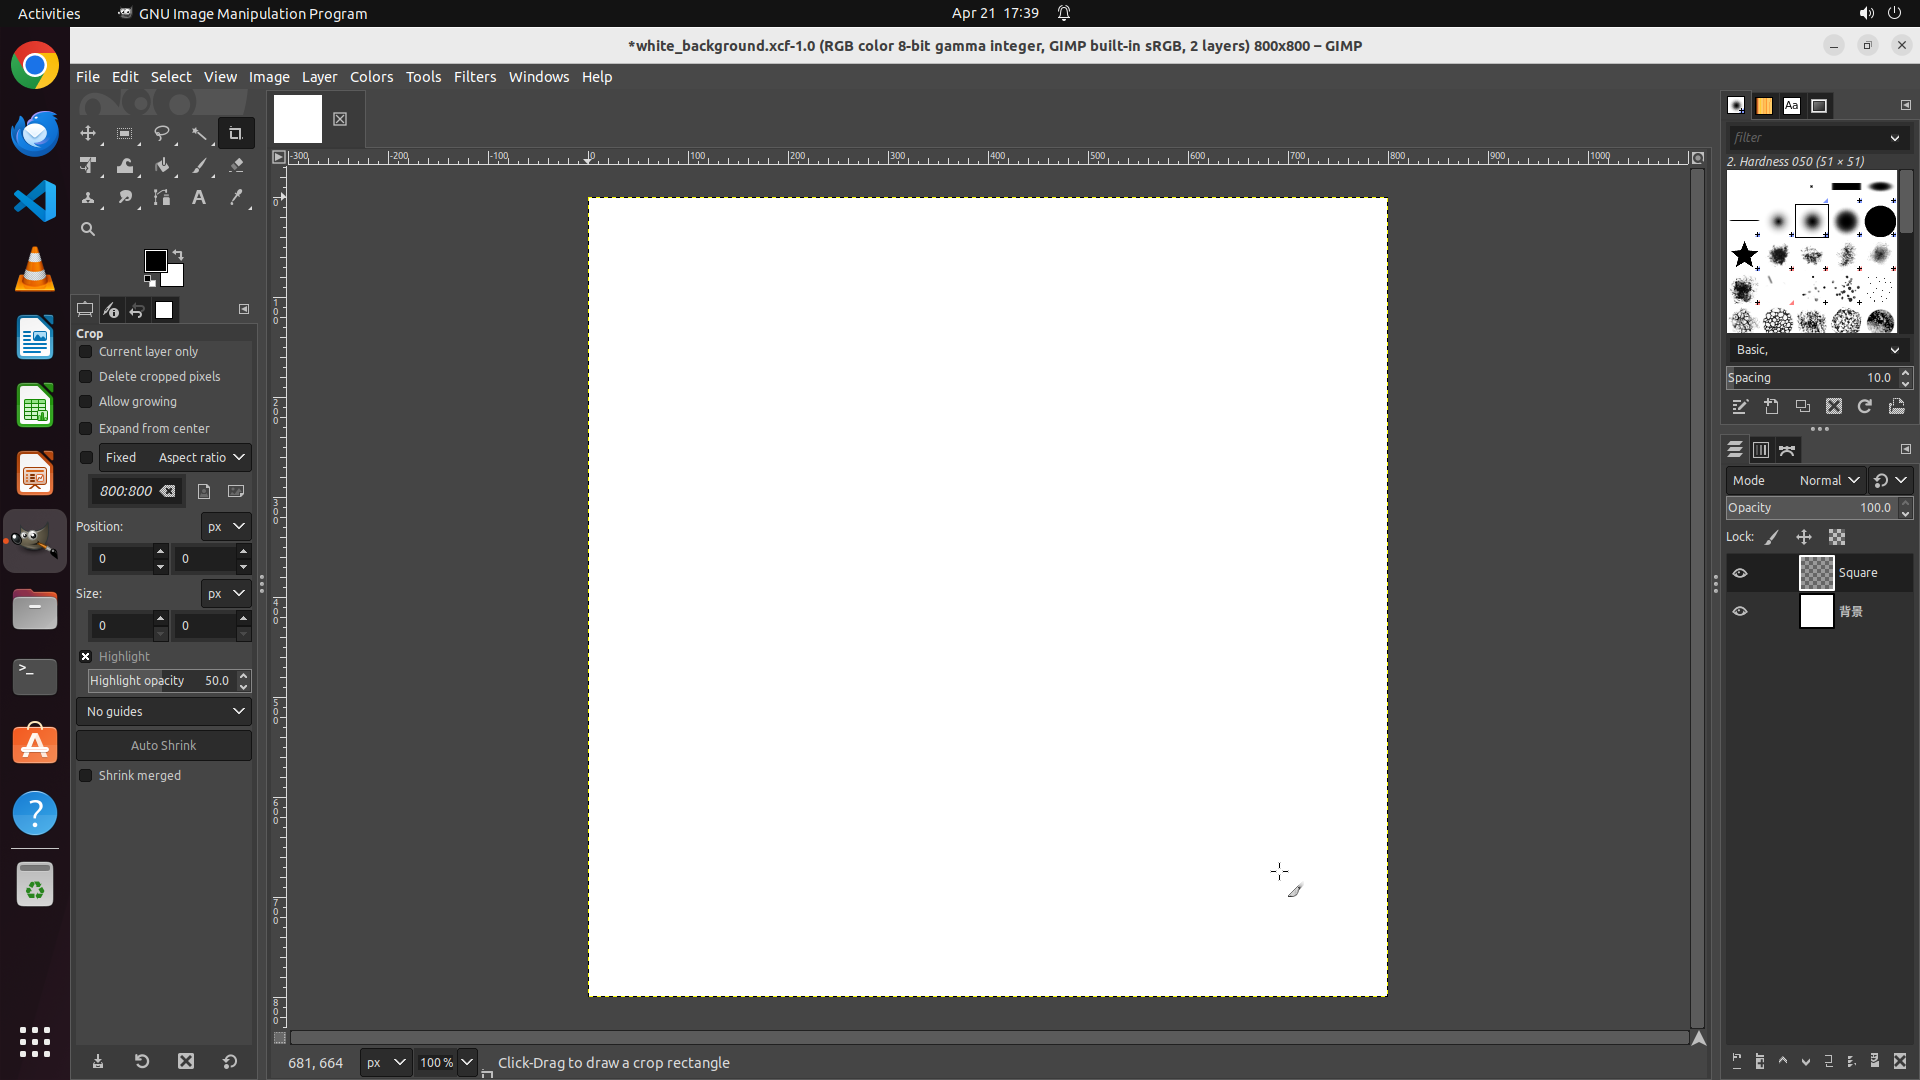
- The layer name field now contains "Square" (successfully replaced from "Layer")
- The OK button is visible at the bottom right of the dialog
- The Cancel button is to the left of the OK button
#### 情况分析与思考过程
The previous action successfully replaced the default text "Layer" with "Square" in the layer name field. Now I need to complete the task by clicking the "OK" button to create the new layer.
This is the final step in the task. After clicking OK:
1. The dialog should close
2. The new layer named "Square" should be created
3. The title bar should update from "1 layer" to "2 layers"
4. The Layers panel should show the new "Square" layer
I'll click the OK button now to complete the task.
```